by Jo Lommen
I purchased the camera on Ebay and was well aware of the fact that I could expect some trouble, as the seller sold the camera "as is" and "for parts only".
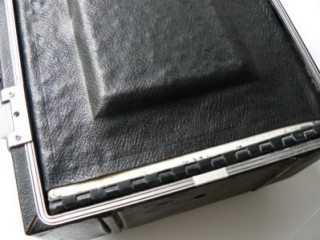
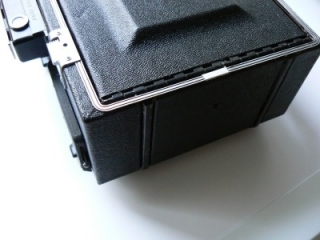
Beside of that the eBay photos were very clear. At a first glance the damage was just the shrinkage of the leather cover of the front drop bed door.

However, I soon found out that there was more wrong than I suspected. Most of the mechanic parts were more or less attacked by oxidation.
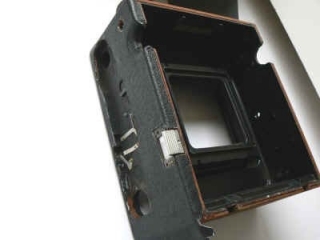
Remove the drop bed from the housing
Start the operation by unscrewing the bellows of the lens standard. (the 4 screws of the slide locks from the lens standard).
Remove the body cable release from the standard. Drop the infinity stops and slide the Lens Standard over the rails out of the yoke assembly.
Fold the bellows back to the back and fix it tight with a piece of wire or tape.
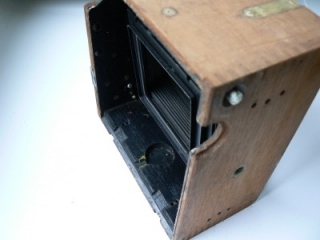
While now having easy access to the inner of the camera-house you can easily unscrew two wood screws and 4 machine screws on the bottom of the housing.
These screws liberate the hinged end of the drop bed. You also need to unscrew the plate bed braces on both sides to free the bed from the housing.
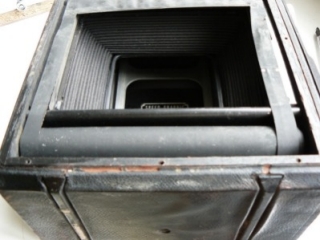
Now that you have separated the hinged bed from the housing you can slide both guide case sections outside on the bottom of the camera housing.
This frees the camera leather on both sides of the guide case section.
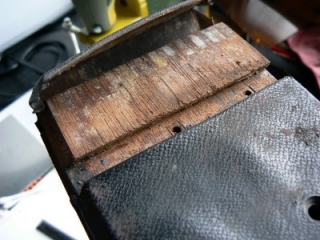
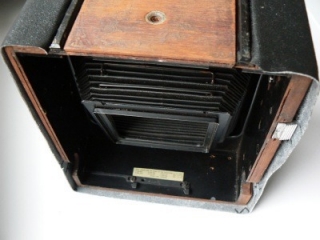
Thanks to the quality of the Honduras mahogany wood and the dove tail construction, the housing may be still in very good condition, but needs some attention to clean it from old glue.
Unfortunately the leather cover may not be usable once it has been carefully removed from the housing.
However you may use the old cover to make a pattern for the new one.
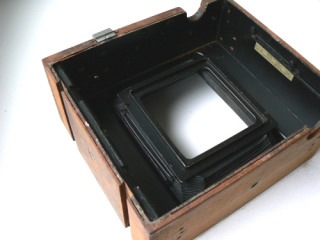
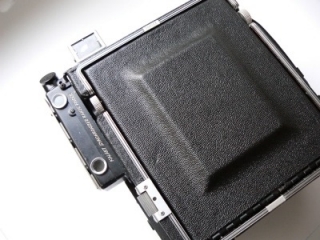
After thoroughly cleaning the wooden housing it's time to start to measure the box.
The ultimate challenge is to copy the new cover of the camera from the worn, shrunk and partly broken leather.
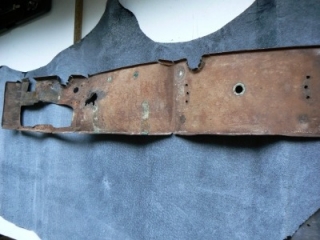
Nothing is impossible. However, if you never have done this before, it sure demands some improvisation to bring this to a good end.
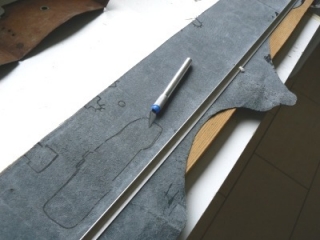
I used an old cup board and an aluminum profile fixed by some pins and telephone wire holders to keep the leather on its place while cutting.
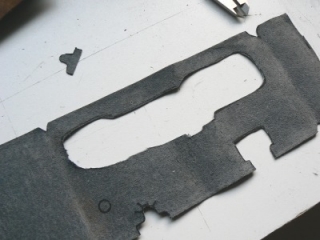

Tailor-made new cover: I started with the right side, which is the difficult one with the complicated cut pattern.
Cleaning the Drop Bed from old glue
Clean the surface from old glue with Scotch Brite and some detergent your wife uses to clean the sink.
I remember I used all sort of stuff like turpentine and lighter gasoline to get rid of the last residues of glue.
Use fine sandpaper to get it shine and ready for adhesive fixation for glue and leather.

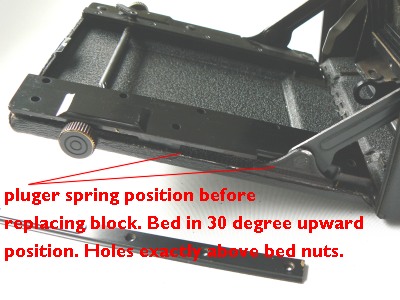
It could be a hell of a job to reassemble the blocks again if you don't know how.
It is important to place the drop bed in a position of about 30 degree upward.
Use something suitable to hold the bed in that position. Now the angle of the bed-brace leaves enough space for the plunger and spring once the block is placed above them to be engaged.
The plunger will slide automatically towards the bed brace.
The top of the spring should be positioned as shown on the left photo below. Some 2 or 3 mm below the second bushing guide.
The right photo shows the upwards position of the drop bed needed to set the brace in the right angle.
Although both photos have been taken of an Anniversary, the principle stays the same for the Pacemaker Speed Graphic.
To hold the position of the pinion spring, you may use some tape to keep the pinion and spring on its place.

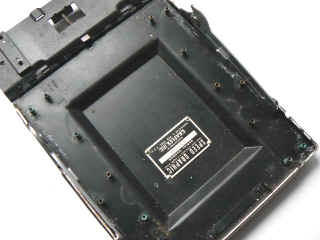
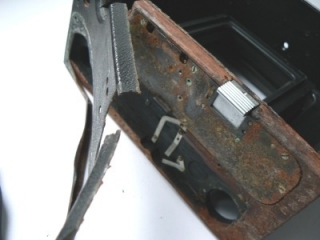
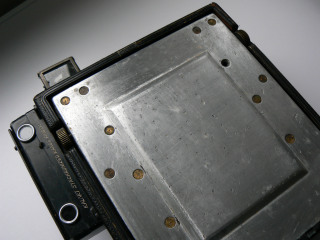
The left photo gives you a nice view of the disassembled bed with the removed blocks, guides and yokes before cleaning.
Note the bushing- guide and block screws. 9 screws on each side. Do not forget to insert them back again before putting up the leather.
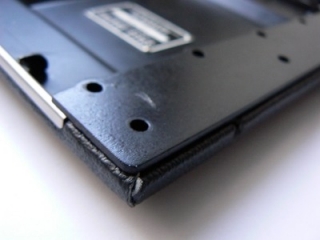
If you've always done your very best at the kindergarten, you might be able to cut and glue the drop bed cover on its place.
The shape of the raised platform can be acquired by rubbing
the leather from the centre to the sides of the board.
As far as till now we concentrated on the outside of the camera.
New leather, removing dirt and dust in and outside and the mechanical moving
parts like the braces.
One of the most intriguing components however is the rangefinder.
This device combines optical reliability with the mechanic connection to the
adjustable lens
movements when focusing. Cleaning, calibrating and replacing as well as the
connecting arm to the focusing device is a special discipline
asking a lot of patience and technical feeling.
If you want to learn more about this specific job, please go to my
Kalart site.
It shows you how the Kalart Rangefinder works and how to adjust and connect to
the lens adjustments.
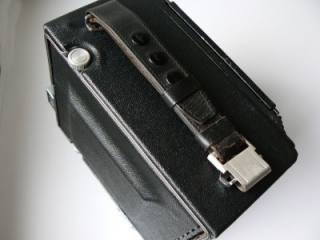
Finishing the Speed Graphic.
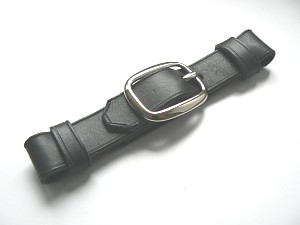
Do not risk dropping your precious camera due to a brittle
strap handle.
Make sure your strap is reliable. You better buy a new one to prevent dropping
the camera.
Replacing the tubular finder as well as the bellows and standard with shutter and lens and the shutter release mechanism.
After inspecting the good working of the moveable parts such as the drop bed and the focusing track and rails not to forget the adjustments of the infinity stops and distance scales,
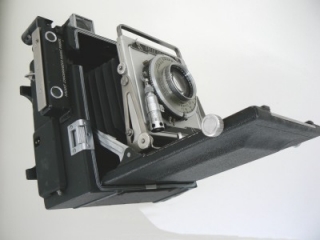
the camera seems to be ready to continue photographing again.
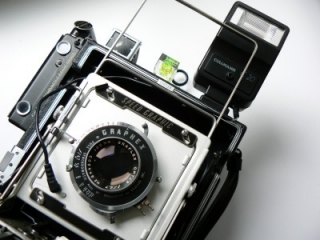
The refurbished and upgraded Speed Graphic.
However, it could be a problem to get familiar with the use of the old Graflite flash and the availability of flash-bulbs.
To make full profit of the refurbished Speed, one can decide to use a modern computerized X flash, which is connected to the X shutter. (more about this )
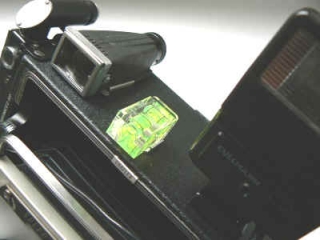
Beside the more or less standard included Kalart Focus spot and the tubular finder, the refurbished Speed Graphic has been equipped with a spirit level and the already discussed Cullmann computerized flash.
This almost drowned grand dad's photographing apparatus, now has become a very handsome, good appearing, yes even shiny camera.
Useful but heavy to handle and not easy to operate. Never the less it has also become a modernized classic press camera, enabling us to take real photos rather than digital snap shots.