The use of the old classic tube lenses gives you unknown creative possibilities reaching far beyond those of the standard lenses.
You may wish to make a choice
out of the hundreds or more beautiful classic tube lenses.
They are relatively cheap and often for sale.
Choose one of them for your specific wishes and create a new fascinating photographing
world.
Wake up your Speed Graphic, grab some sheet film, mount your favourite lens and off you go...
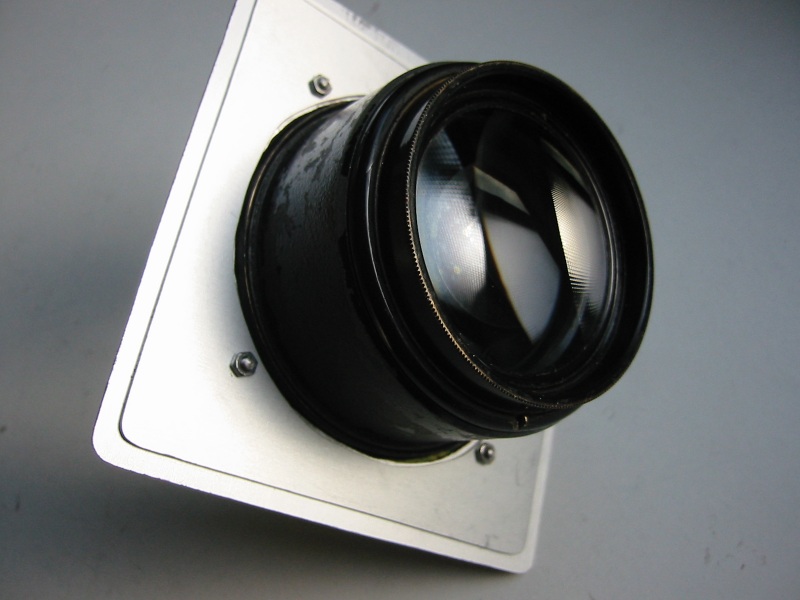
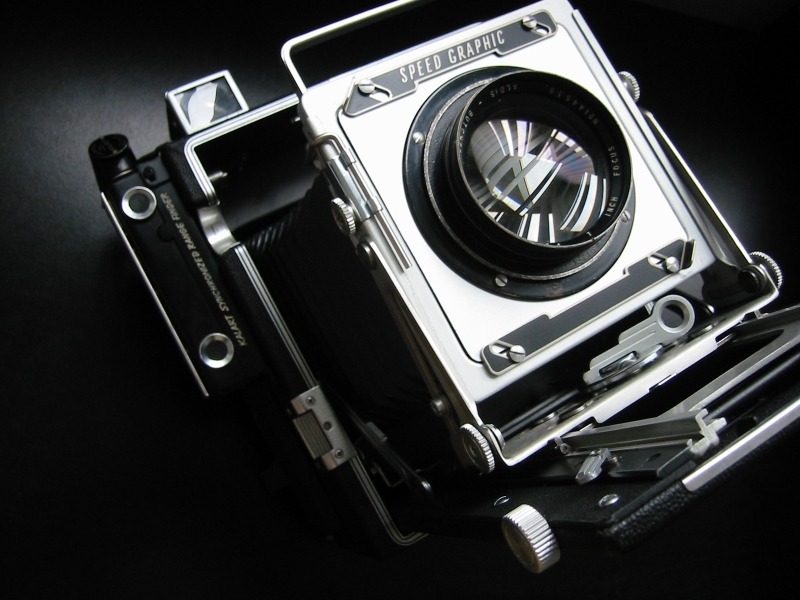
Very often there is no need to alter your precious Speed Graphic.
Before purchasing ask the seller to check the diameter of the last cell just to
be sure.
You'll just need an original Graflex lens
board and drill a hole which fits the lens diameter, or you may decide to make a special lens board
yourself like the one above.
Using this type of lens you may prefer to focus on the ground glass, so
there is no need to change the distance scale or even the Kalart range finder adjustment.
However, if you want to take pictures of sport events, meetings or news photography you'll feel the need to
use the Range Finder. In that case you'll have to refocus the Kalart.
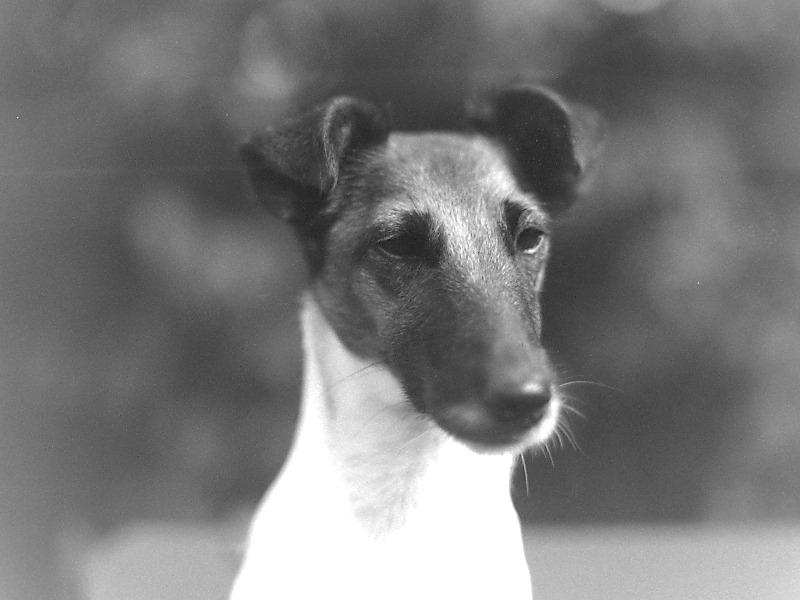
Polly, our Fox Terrier snapshot by the 7 inch Aldis barrel lens, mounted on the Pacemaker Speed Graphic.
100 ASA ADOX f= 2,8 1/500 sec
How to readjust your Kalart rangefinder
for use with the big barrel lenses.
Your Pacemaker Speed Graphic is normally equipped with a 135 mm lens.
The rangefinder and the infinity stops are set to this lens.
Changing the lens has
automatically consequences for the setting of the infinity stops and the adjustment of the rangefinder.
To readjust the rangefinder, make sure the sliding track is in its "home"
/ infinity position.
First of all relocate the infinity stops.
To do
that you'll have to loosen the little screws on the infinity stops in order
to reset them as much as needed.
Open the viewing hood watch the ground glass.
Move the standard for and backward until the infinity image on the ground
glass is in focus.
Lock the standard in this position. Now slide the infinity
stops back against the front standard and fix them in that position by
fastening the little screws.
Slide the standard back into the housing and back again to the infinity stops
and check the image again.
If necessary repeat the action.
To readjust the other positions you'll have to remove the rangefinder housing by unscrewing the four screws.
Be careful touching the mirror or the prism, they easily come off due to dried out
cement or glue.
On the back of the rangefinder there is a back scale.
By loosening the screw in the direction indicated, you'll be able to move the indicator in position 17.
Focus the camera by the
rangefinder on a flat subject 15 feet away from the camera.
Make sure the image on the ground glass is absolute sharp in focus.
If not, try another position back or forwards until the rangefinder
indicates the "in focus" position.
To readjust the 6 foot adjustment, set the front scale on position no. 8
For more details about adjusting the Kalart Rangefinder
Lens board
Lens boards can be made out of 1 mm aluminium.
Aluminium is preferable as it is light and easy to handle.
Drilling and sawing in it is relatively easy and the
metal finish fits perfect to the Speed.
As you can see on the picture, it is almost "original made by Graflex"
A home made lens board
should exist out of two different sized lens boards creating a light trap that falls exactly between the two ridges of the front
standard.
See: left photo on top of this page.
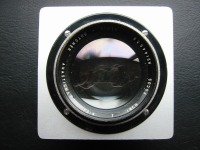
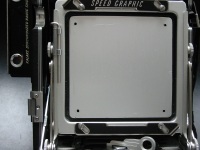
Front Lens board Light-trapped lens board Inner Lens board
On the left the upper board not yet
drilled lens hole and on the right the underlying undrilled lens hole .
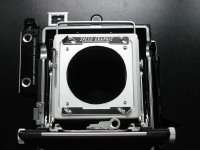
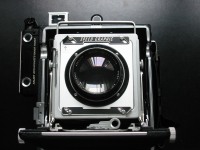
Lensboard ready to receive special lenses
with the famous Kodak Aero 7 inch 2,5
Brought to you by Jolommencam.