ADJUSTING THE RANGE FINDER
FOR 15 TO 25 FOOT DISTANCES
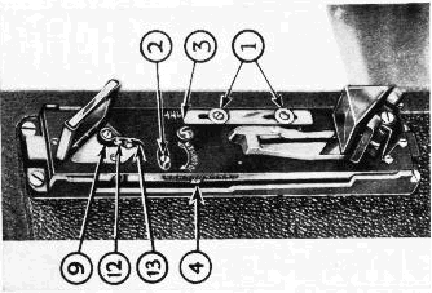
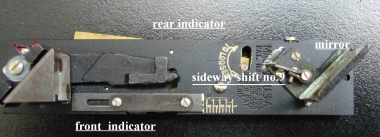
Set the adjustment scales for the lens to be used as listed in the table, page 8. To set the back scale loosen screw No. 2 (fig. F) by giving it one quarter turn to the direction indicated and move the indicator (4) to the desired setting. Then tighten the screw. The camera is then focused on a flat object approximate 25 ft. away, Use a magnifying glass to make absolutely certain of the sharpness of the image on the ground glass and then view the image through the Range Finder. If the images are in coincidence, repeat the test with the camera focused at 15 feet. If at either or both of these distances the Range Finder is not in focus, an adjustment is made on the rear scale.

When the movable image is high, the indicator is moved down slightly. When the movable image is low, the indicator is raised slightly. After this adjustment, re-check the Range Finder at infinity. If the infinity adjustment has shifted, bring it back to focus by following the instructions previous given under "Set Range Finder for infinity." Check the Range Finder at 25 feet and 15 feet again and if the images are not in coincidence repeat the above directions until coincidence is attained. This method is necessary in order to adjust the Range Finder to the exact focal length of your individual lens rather than to an arbitrary adjustment, which would only approximate sharp focus.
